Showing posts with label dessert. Show all posts

Saturday, March 31, 2012

I Scream, You Scream

I don't know about you guys, but I am an ice cream lover and an avid eater of ice creams. I prefer it in a cone, on a stick, as a sandwich, or even taco form; just as long as I don't have to worry about washing a bowl or cup later. So when you wrap the icy treat with something sticky and sweet, hey, I am all over it.

{ my little mochi }
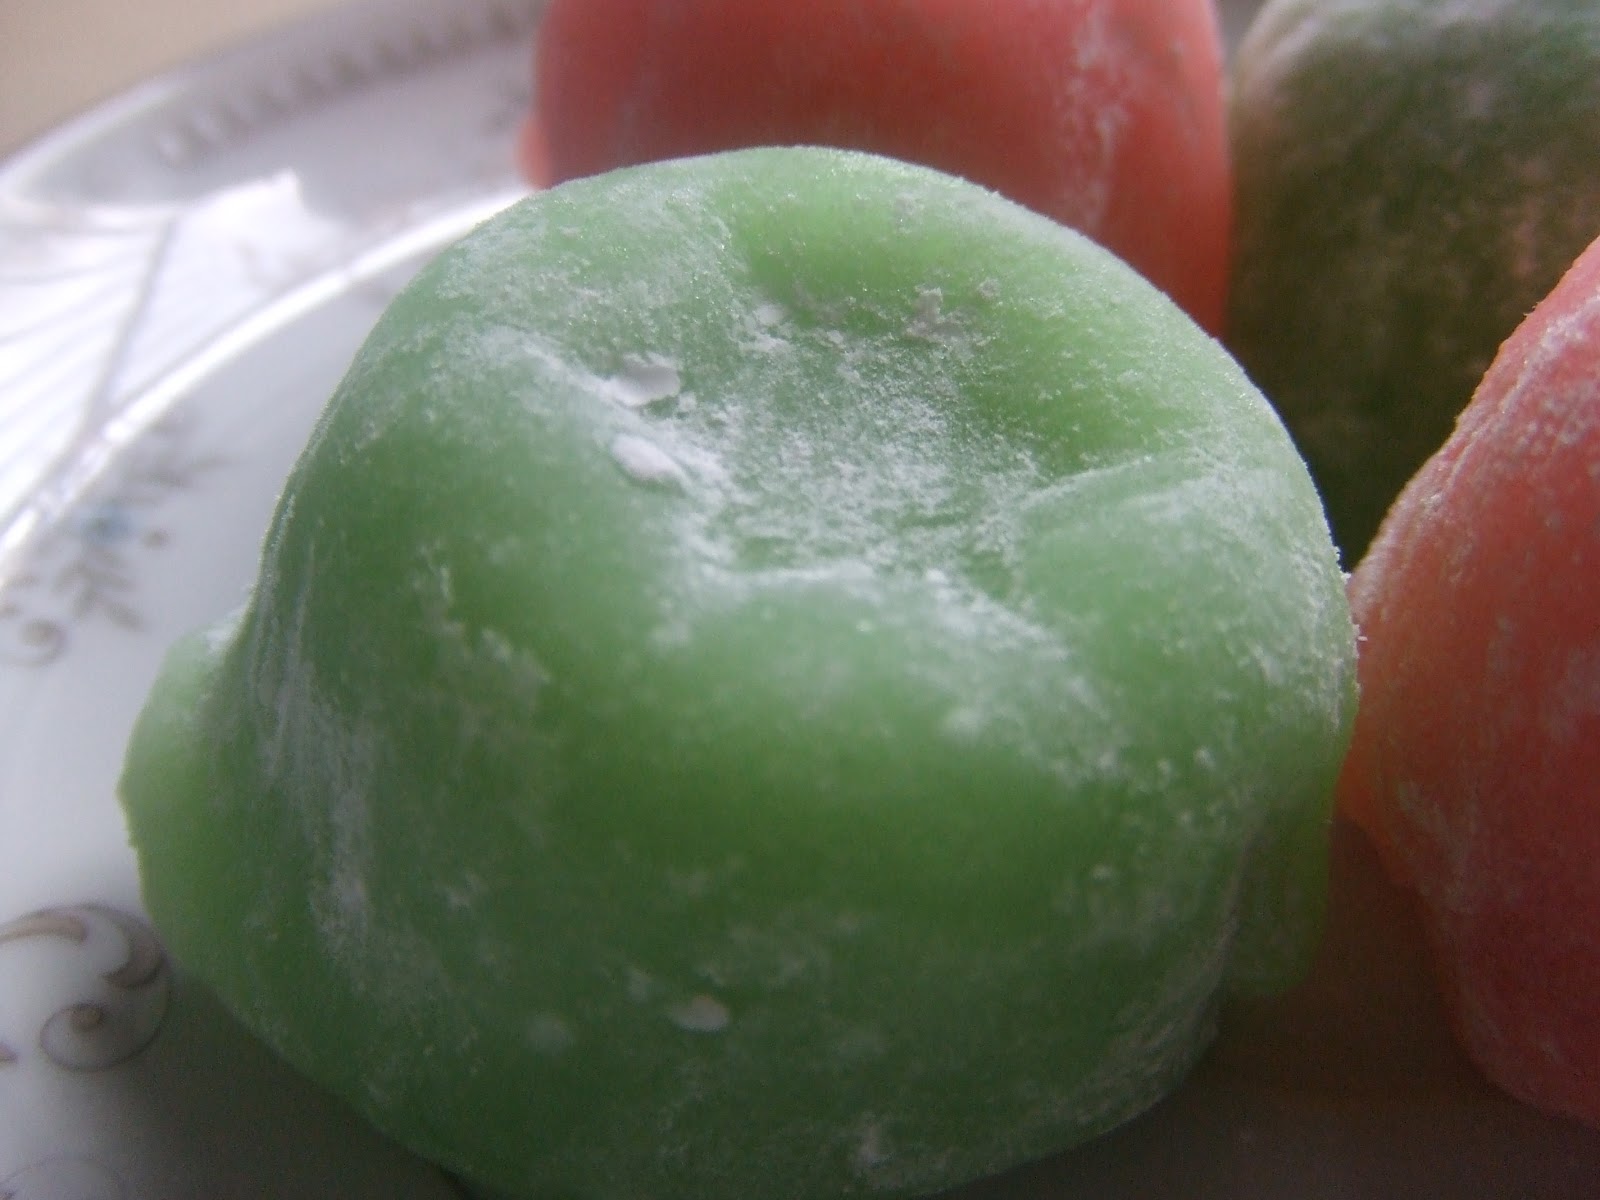
If you haven't already heard about or tried mochi ice cream, it's a Japanese dessert where  a ball of ice cream is wrapped with a chewy layer made of sweet, glutinous rice flour. The Mikawaya brand is perhaps the most common in the US and is usually carried at Asian grocery stores and specialty food stores (like Trader Joe's). I love that they're the perfect size for a light dessert, but I honestly think they should put more than just 6 measly pieces in one box. I also think they should sell variety packs, but whatever. It was late. I had a craving. I had the ingredients. Can you really blame me? I mean, look at them...

{ EAT US! EAT US! EAT US! }
Can't you hear each one of them calling out to you? Saying "Please eat me. I need a warm stomach to call home." How do you turn that little guy down? You don't. And that is why you should make them to satisfy your insatiable cravings. Just think about it, this recipe yields about 30 pieces. THIRTY. FREAKIN'. PIECES. IN YOUR FREEZER. AT ANY GIVEN TIME. Need I say more? 

{ mmm... strawberry }
Mochi Ice Cream
(makes about 20-30 pieces) 
Ingredients 
Pint of ice cream (any flavor you want, go crazy)
2 cups glutinous rice flour
2 cups hot water
2 cups sugar
Corn starch
Food coloring (optional)

Flavor extract (optional)
Instructions
  1. First, you want to take your ice cream and shape them into uniform pieces. Lay them on a sheet and freeze them until they harden completely.
  2. To make the mochi, stir the water and sugar in a microwavable bowl. Add the rice flour and mix well. There should be no lumps.
  3. Cover the bowl with plastic wrap and microwave on high for about 3 minutes. Stir the dough in the bowl a couple of times and place the plastic wrap back on the bowl.
  4. Heat in microwave for another 3 minutes. Stir it to make sure the consistency is the same all throughout. (WARNING: IT WILL BE HOT!)
  5. Cover a large surface (like a cutting board or countertop) with plastic wrap and generously sprinkle with corn starch. 
  6. Place the dough onto the dusted surface and dust more starch on top of the dough. You might also wanna dust your rolling pin.
  7. Roll out the dough to desired thickness. I like mine pretty thin (maybe 1/4").
  8. Using a circle cookie cutter (or even the rim of a bowl or glass), dust the edge with starch and begin cutting your circles out. Let them cool.
  9. Remove ice cream from freezer and quickly wrap each one. Place back in freezer or consume immediately. You call the shots, here.

Tips: When shaping the ice cream, I used a melon baller, but I've seen some people use a silicone mini cupcake mold. If you decide to flavor or color your dough, do it prior to heating in the microwave. This recipe yields 20-30 pcs because it all depends on how big you want your pieces and how thick you like your mochi. I like mine to be about 2 bites, so mine were pretty small, but if you go bigger, you'll probably get about 20. Also, I went for the cuteness factor by stuffing my mochi into tea cake molds. If you want yours to take on a particular shape, it's easier sprinkle to the insides with starch, lay the mochi deep in the mold first, and then stuff the ice cream into it. It'll hold the shape better. 
{ green tea flavored. I like the little indentation on the top }


ENJOY!

Wednesday, March 14, 2012

Happy Pi Day!


{this mini pi went great with my morning tea}

When the thought of creating a food & crafts blog first entered my mind, I was making this apple tart and I figured it would be a great first post as it was my inspiration! My first attempt was actually a squarish version, but when I corrected a friend that it was a tart and not a pie - it hit me.

Pi. Apple pi

For some reason, I found this incredibly amusing (and quite clever!) that I decided to create a pi-shaped apple concoction. Then the idea to debut my blog on Pi Day came about and, thus, Apple Pi in the Sky was born. Anywhoozie, I'm gonna stop talking and get to the recipe for this baby.


French Apple Tart
Ingredients
Puff Pastry (can be store-bought, but I used this recipe)
2 large Granny Smith apples
1 tsp lemon juice
1 tsp orange juice
1 tbsp maple syrup
1/2 tbsp brown sugar
2 tsp ground cinnamon
1 egg

Instructions

  1. Preheat your oven to 400 degrees. Roll out the thawed puff pastry and deeply score a dashed 1 cm-thick perimeter with a butter knife. I usually stick my knife all the way down, make a 1-2 inch cut, and leave a cm in between. The finished product should look like a frame with a perforated line. Place on a baking sheet lined with parchment paper.
  2. Slice the apples. I used a mandolin with the 1/8" slicer, but feel free to go thicker if you prefer. You may need to add an apple if you do this. Carefully staying within the dashed line, arrange the apple slices in whatever you pattern you like.
  3. Put in oven and bake for 10 minutes.
  4. In a small bowl, mix the brown sugar and cinnamon. Add maple syrup, lemon juice, and orange juice. Mix thoroughly.
  5. In a separate bowl, beat egg.
  6. Remove tart from oven and lightly brush cinnamon syrup mixture on top of apples only. Then brush beaten egg on perimeter of puff pastry. Bake for another 5-10 minutes, or until pastry turns a deep golden brown. Let cool on rack. 
Tips: If you decided to make your own, great! The only thing with the recipe I posted is that I subbed the AP flour with pastry flour. You will only need about half of what it yields, so freeze the rest or double the apple recipe. Also, make sure you have plenty of time on your hands as it takes approximately 3 days to make. I know, I know. It's a long, laborious process, but is soooo worth it in the end. Trust me. Your stomach will thank me.


{the mega pi}